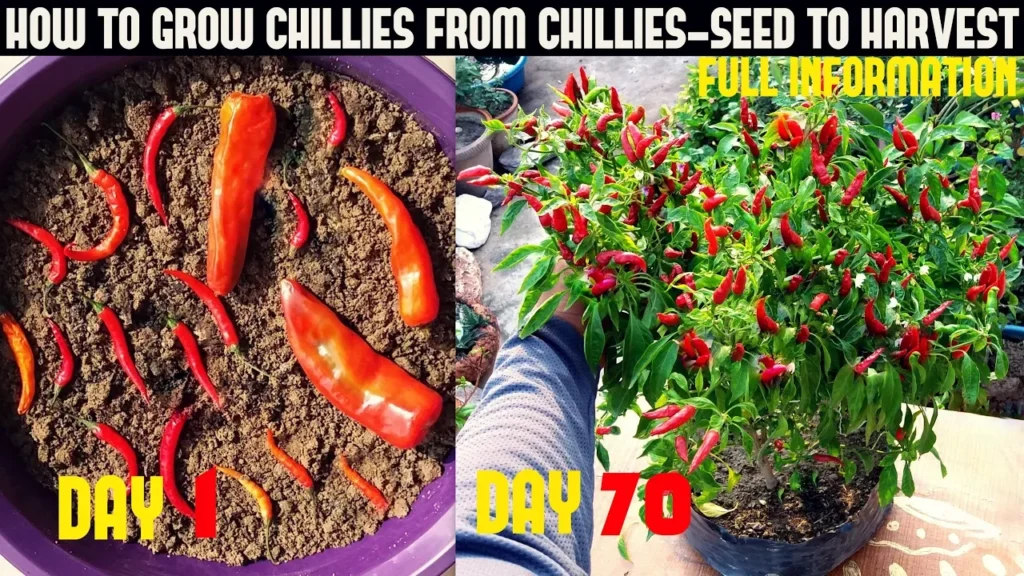
Growing your own chillies at home is not only rewarding but also a fun culinary adventure! In this guide, we’ll explore how to grow chillies from seeds, ensuring you can enjoy fresh, flavorful chillies right from your garden or balcony.
Table of Contents
Introduction to Growing Chillies
Growing chillies at home is an exciting endeavor. Not only do you get to enjoy fresh produce, but you also gain a deeper understanding of the cultivation process. Whether you have a sprawling garden or just a small balcony, you can successfully grow these vibrant plants with a bit of knowledge and care.
Chillies thrive in warm conditions and require plenty of sunlight. They can be grown from seeds extracted from mature chillies, making it easy to start your own plants. The process involves a few essential steps, but with patience and the right techniques, you will be rewarded with a bountiful harvest.
Safety First: Handling Chillies
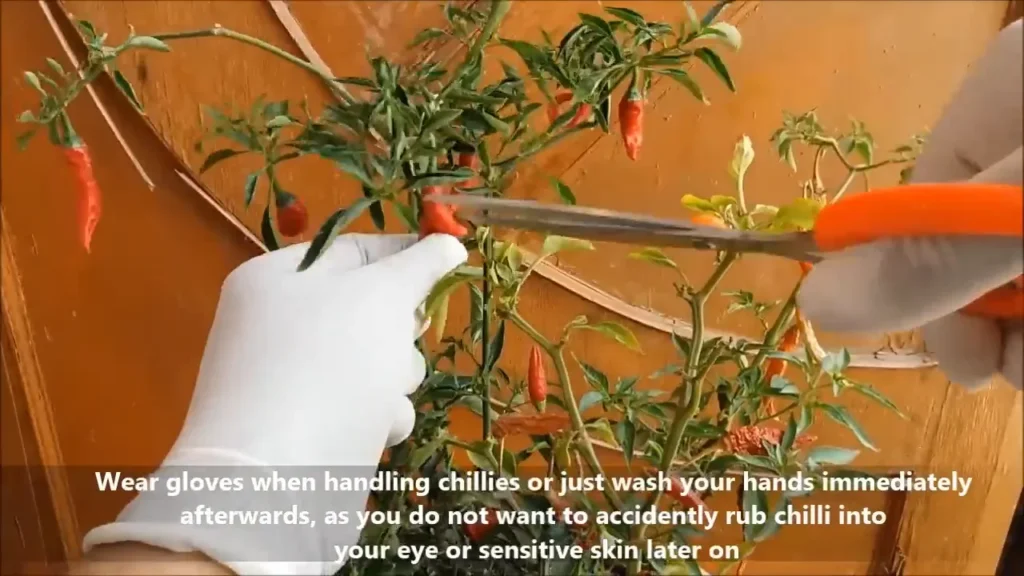
Before you dive into the world of chillies, it’s crucial to prioritize safety. Always wear gloves when handling chillies. This simple precaution helps protect your skin from the heat of the peppers. If you forget to wear gloves, wash your hands immediately after handling to avoid any irritation.
Harvesting Mature Chillies
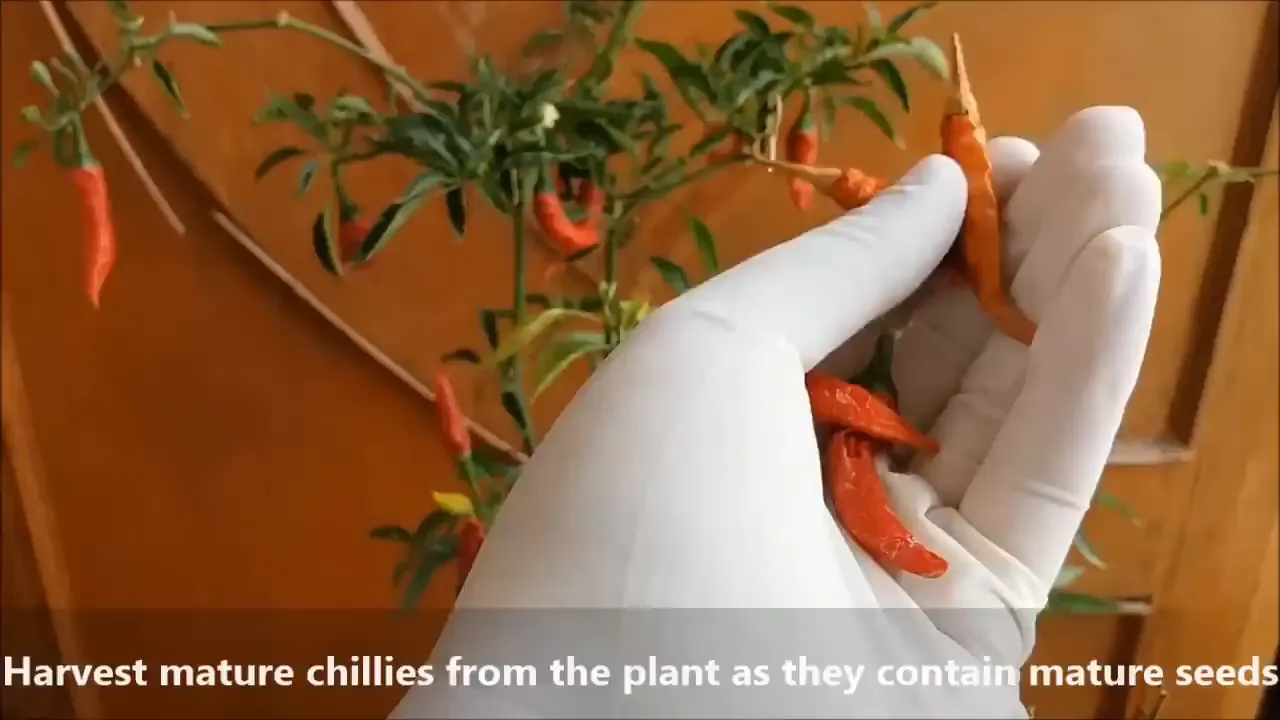
To start your growing journey, you need to harvest chillies from your plants. Wait until the chillies are fully mature, which often means they have changed color and are firm to the touch. Use scissors or a sharp knife to cut the chillies off the plant carefully.
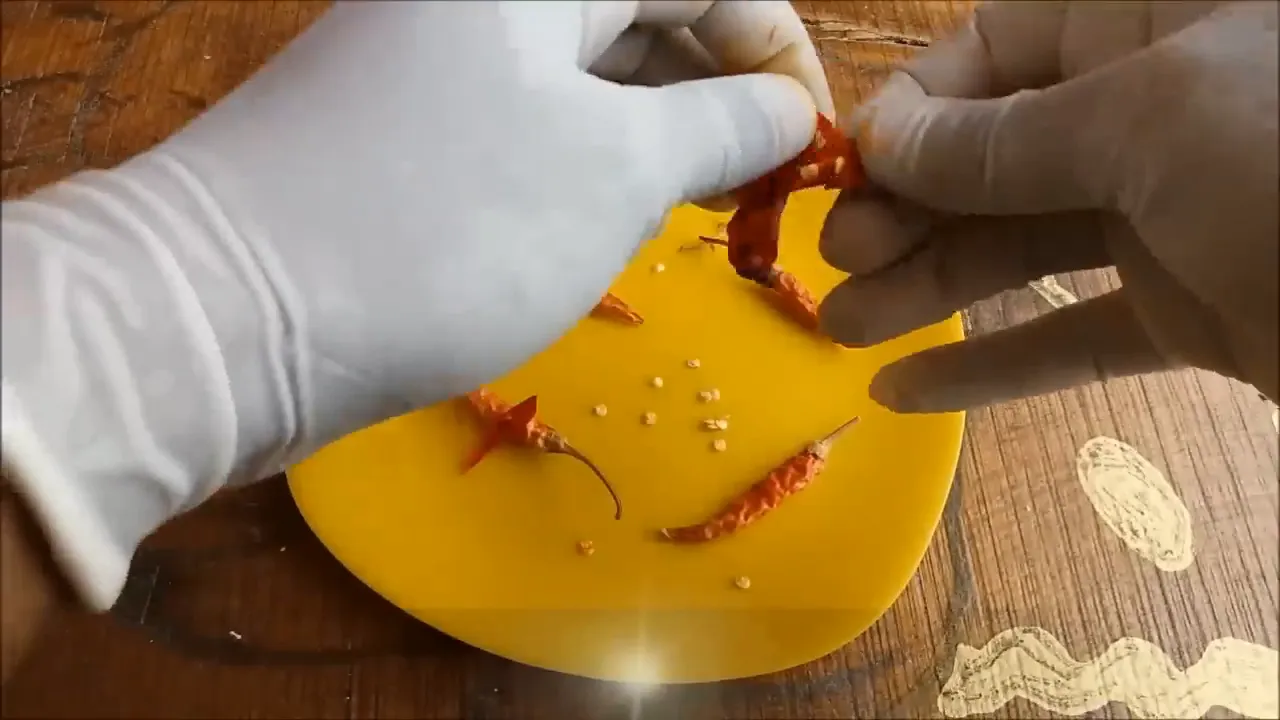
Once harvested, cut open the chillies to extract the seeds. This step is crucial for your next planting cycle. Make sure to handle the seeds with care to ensure they remain viable for sowing.
Extracting Seeds from Chillies
Extracting seeds is straightforward. After cutting open the chillies, remove the seeds and place them on a paper towel to dry. This drying process is essential to prevent mold and ensure the seeds are ready for planting later on. Store the seeds in a cool, dry place until you are ready to sow them.
Preparing the Potting Mix
Quality potting mix is vital for healthy chilli plants. A good mix consists of seventy percent organic compost and thirty percent fine sand. This combination provides the necessary nutrients while ensuring proper drainage. If you prefer, you can also use a seed starting mix.
To prepare your pot, take a small pot with drainage holes at the bottom. Cover these holes with small stones to prevent the soil from washing out. Fill the pot with your prepared potting mix, ensuring it’s compact yet not overly dense.

Sowing the Seeds
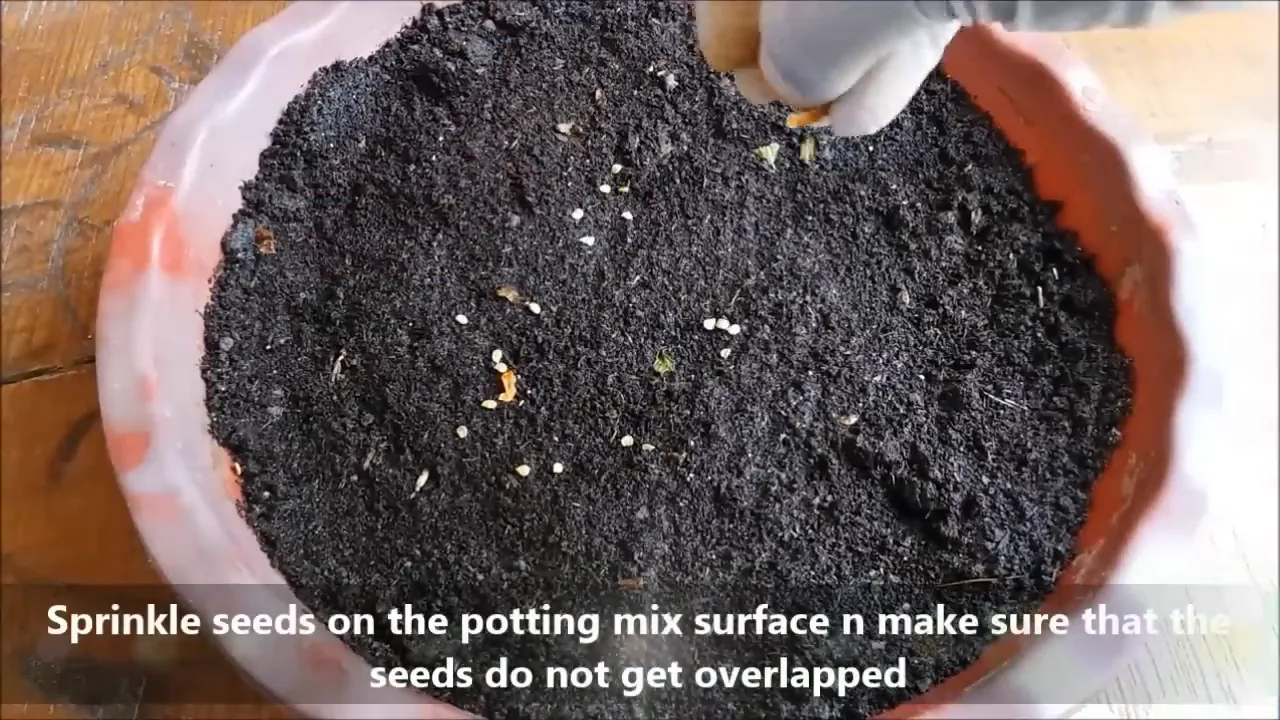
Now it’s time to sow your seeds! Sprinkle the seeds evenly across the potting mix, avoiding any overlap. This spacing allows each seed to have enough room to germinate and grow. Cover the seeds with a fine layer of potting mix, but remember not to bury them too deep, as this can hinder germination rates.
Germination and Seedling Care
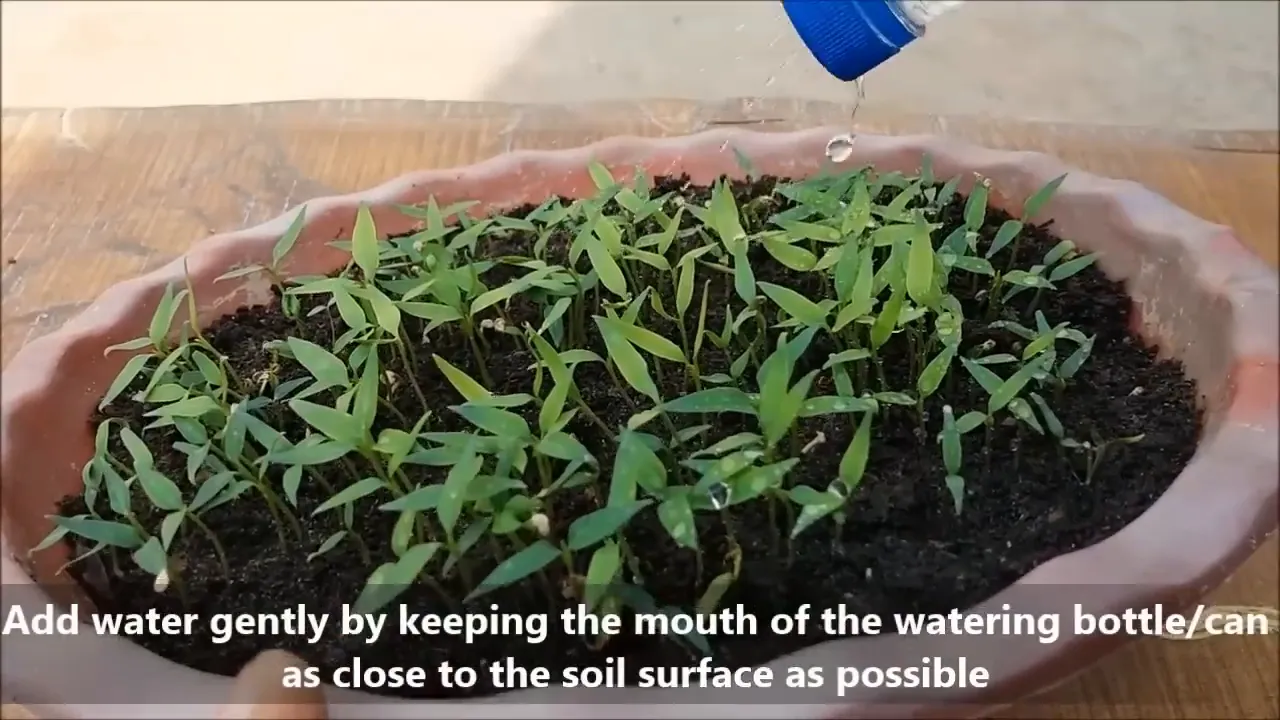
Seeds typically germinate within nine to twelve days. During this period, it’s crucial to keep the soil moist but not waterlogged. Overwatering can lead to problems, so be mindful of the moisture level.
Once the seedlings develop three to four true leaves, they are ready for transplanting. At this stage, it’s essential to handle them gently to avoid damaging the roots.
Transplanting Seedlings
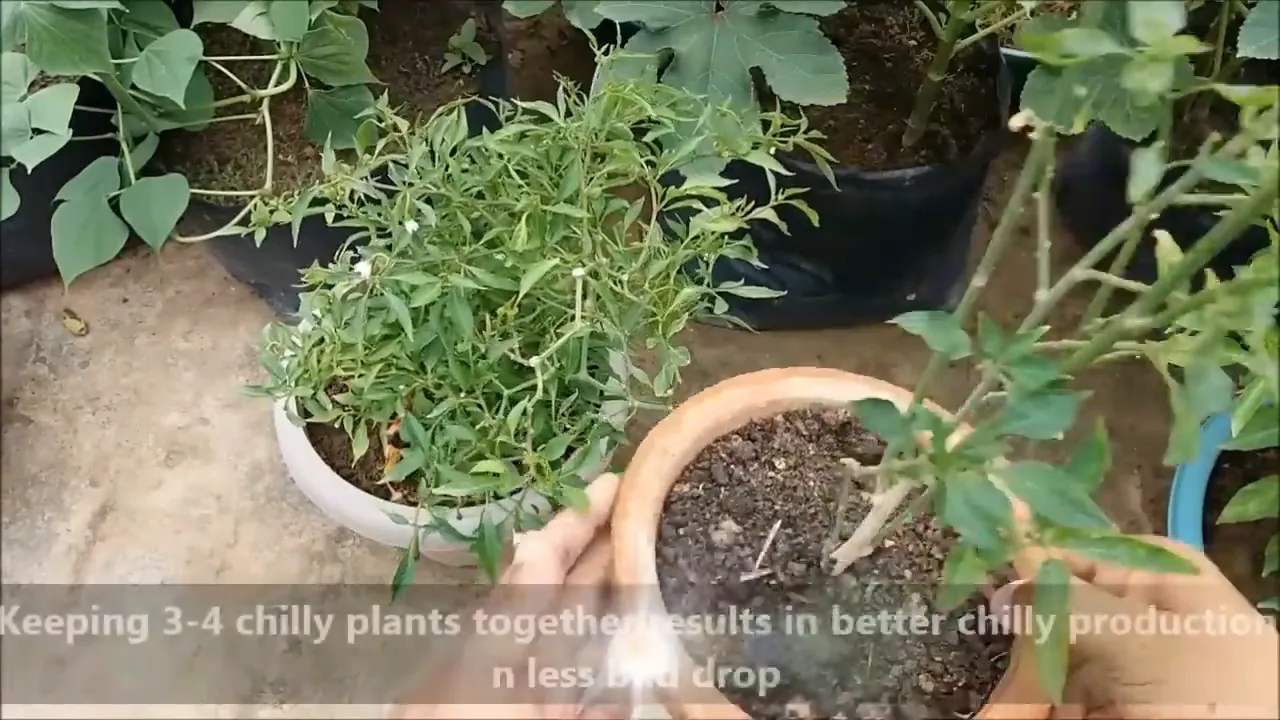
Transplanting is a delicate process. It’s best to do this early in the morning to minimize stress on the plants. Prepare to plant multiple seedlings in a larger pot for better pollination. Dig holes that are slightly larger than the root balls of your seedlings, ensuring a good fit.
Keep a gap of six to seven inches between seedlings if planting in a container. If you’re planting in the ground, space them about one to one and a half feet apart. After transplanting, water the seedlings immediately to help them acclimate to their new environment.
Encouraging Bushier Growth
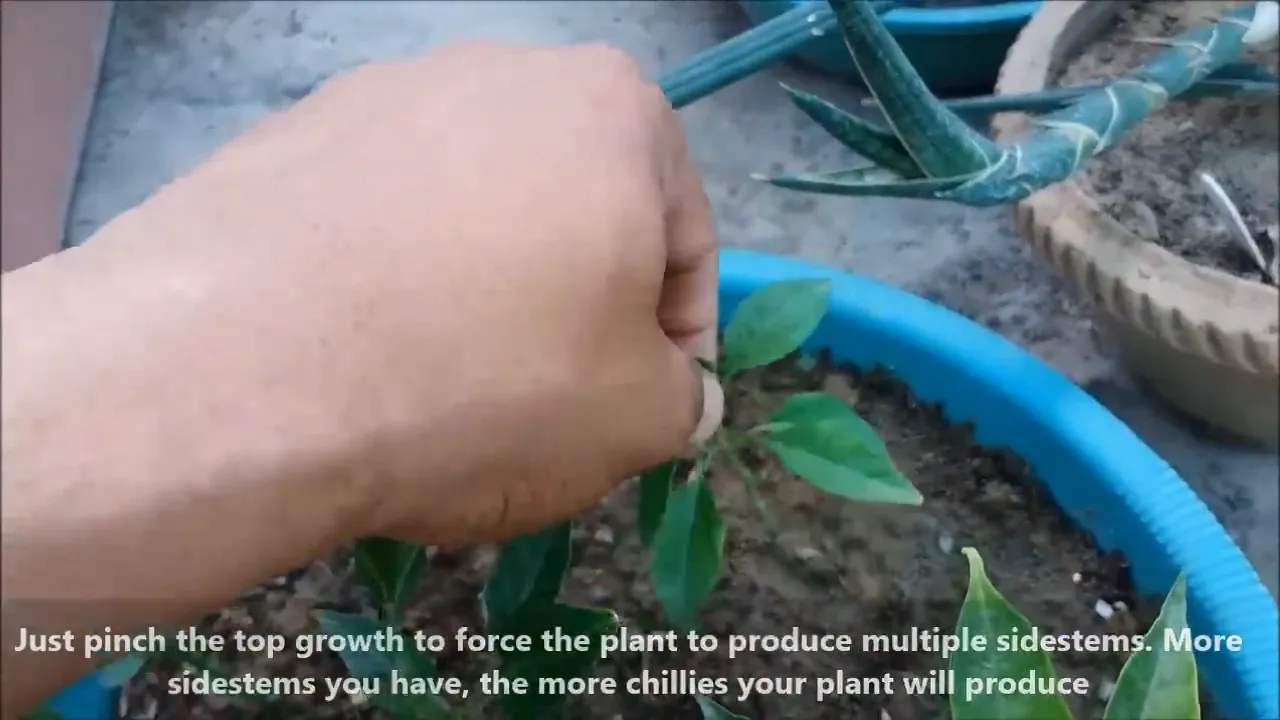
To ensure your chili plants grow strong and bushy, pinch the top growth when they reach six to seven inches. This simple act encourages multiple side stems to develop. The more side stems your plant has, the more fruit it will produce.
After just a few days of this technique, you’ll notice your plants looking fuller and bushier. Each plant can have more than ten to twelve sub-branches, significantly increasing your yield.
Optimal Growing Conditions
Chilies thrive in warm environments with plenty of sunlight. Aim for five to six hours of direct sunlight daily to promote healthy growth. Choosing a sunny spot is crucial for maximizing your harvest.
Besides sunlight, ensure your plants are protected from harsh winds and extreme weather. A sheltered area will help your plants flourish.

Maintaining Soil Health and Nutrients
Soil health is vital for thriving chili plants. Incorporate organic compost into the soil every eighteen to twenty days. This practice keeps nutrient levels high and supports robust plant growth.
Be vigilant about weeds, as they compete for space and nutrients. Regularly remove any weeds from your container to give your chili plants the best chance to thrive.
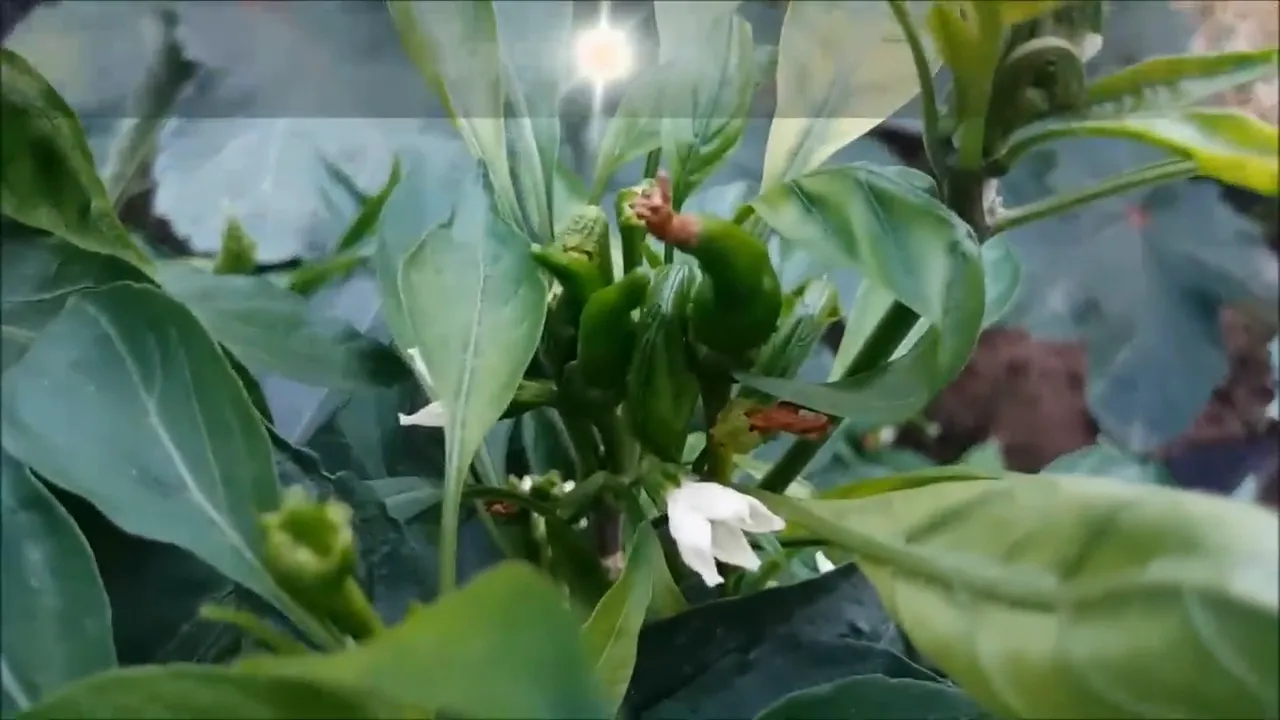
Watering Wisely
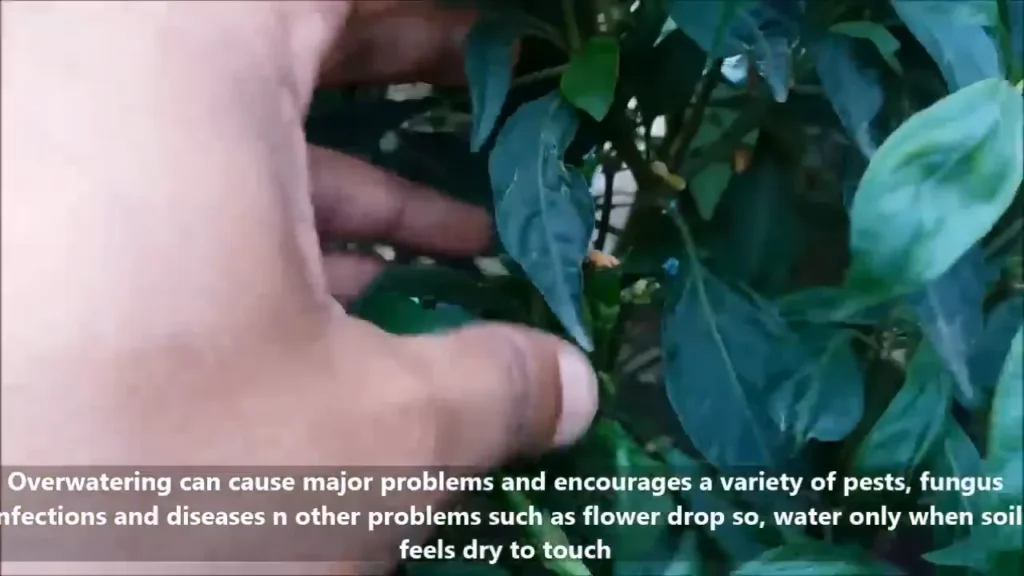
Watering is an art when it comes to growing chillies. Only water your plants when the soil feels dry to the touch. Overwatering can cause significant issues, including attracting pests and diseases.
Ensure you give just enough water for your plants to survive and allow the soil to dry out between watering sessions. This method encourages a strong root system and healthier plants.
Harvesting Your Chillies
Chilies will change color as they mature, and both unripe and ripe chillies can be harvested based on your culinary needs. Regular harvesting encourages the plants to produce more fruit.
Use scissors or a sharp knife to cut the chilies from the plant carefully. Be cautious not to damage the plant during this process to ensure continued growth.

Understanding Chili Plant Longevity
Chili plants are perennials, meaning they can produce for more than one season. They often yield more in their second year than the first, so consider keeping your plants for multiple growing cycles.
With proper care, one chili plant can provide hundreds of chilies. Just a few plants can make you self-sufficient in chillies, allowing you to enjoy fresh produce throughout the year.

FAQs About Growing Chillies
- How often should I water my chili plants? Water only when the soil feels dry to the touch.
- Can I grow chillies in small pots? Yes, but ensure to group 2-3 pots together for better pollination.
- What types of compost should I use? Organic compost is ideal for feeding your chili plants.
- How do I encourage pollination? Gently shake the flowers or plant multiple seedlings together.
Related Articles: How To Grow Strawberries From Seed: A Step-by-Step Guide , How To Grow Dragon Fruit: A Complete Guide


Pingback: How To Grow Dragon Fruit: A Complete Guide - Vidz ni Rye
Pingback: How To Grow Strawberries From Seed: A Step-by-Step Guide - Vidz ni Rye
Pingback: - Vidz ni Rye
Pingback: How to Grow the World's Hottest Pepper: Carolina Reaper in Pots - Vidz ni Rye
Pingback: How to Grow Tomatoes: A Beginner's Guide to a Bountiful Harvest - Vidz ni Rye